I made this card as a 'blank' to be used for any occasion. I keep getting into yellow (just like my card friend Hannelie from
http://desertdiva-hannelie.blogspot.com)!
The background was stamped with my set from Docraft's Creativity magazine (2010) with embossing ink and embossed with clear embossing powder. I then rubbed it with
Mustard Seed and Spiced Marmalade (Tim Holtz).
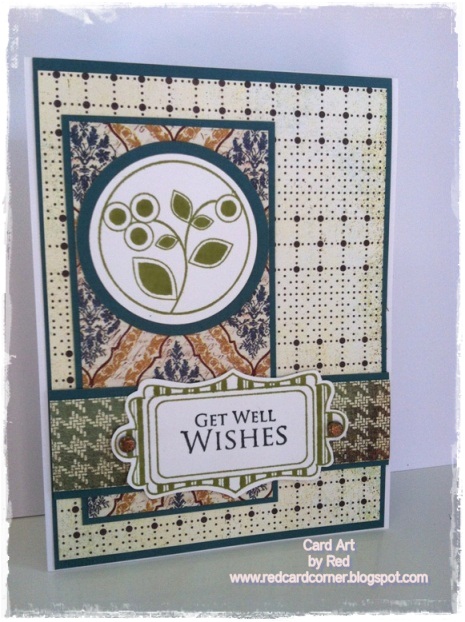
The central image was stamped with
Papertrey Ink's Round & Round (3rd anniversary) set and cut out with a
"2-die-4" circle die. The yellow circle was cut with
Spellbinders Circles small. The frame was created by cutting two of the
Fancy Tags and cutting them both in half. The edges were glued behind the yellow circle. The border at the bottom was punched with a
Letarck Craft Border & Corner punch.
To brighten up the silhouette image I colored the leaves with Sakura Stardust pen and added Ranger Glossy Accents to the bird.
For those reading my blog, THANK YOU. I truly appreciate it. On a personal note: Just to let you know I'm going in for a sinus operation tomorrow (12 March) and will probably be out of commission for a couple of days.
God bless.
Red